Data Storage
The data storage is the central storage in the IO-Tool to send, receive, view, check and organize your files.
In this view, you can edit (name and type), delete, download, view, publish or send the received files.
Uploading Files
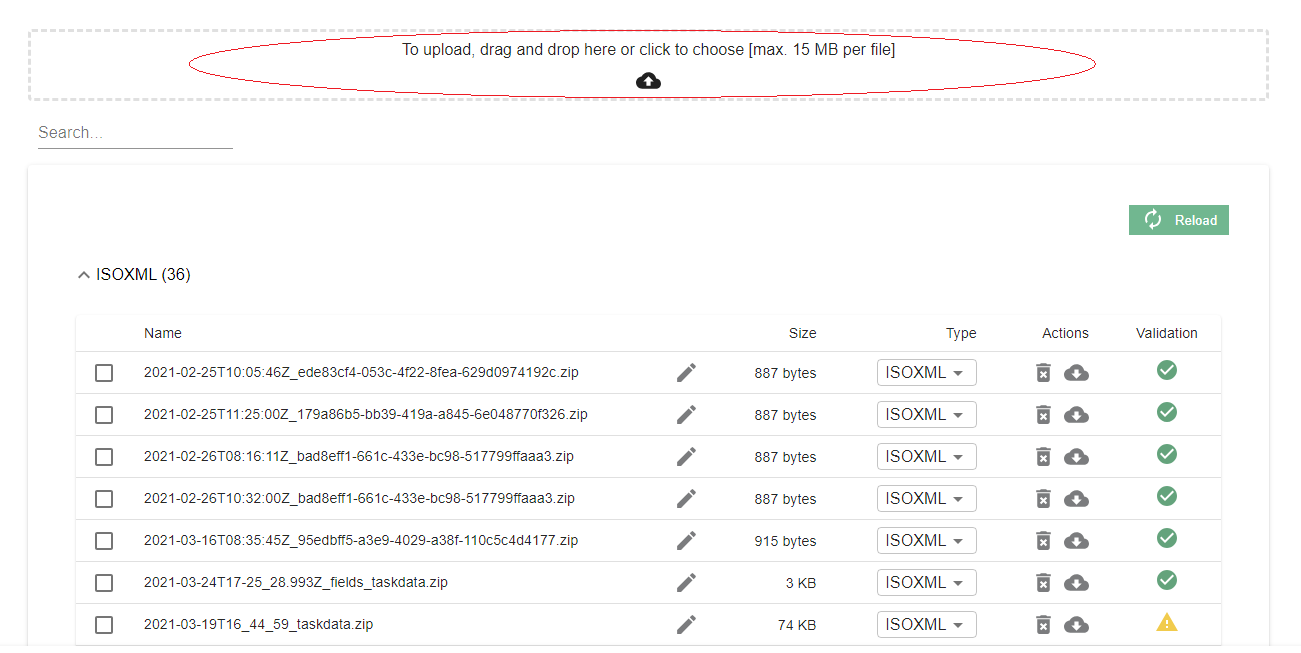
To send files via agrirouter you need to upload them to your Data Storage by drag and drop or by a click on the upload area.
On Upload of an ISOXML.zip, a pop up message will show the validity of the data.
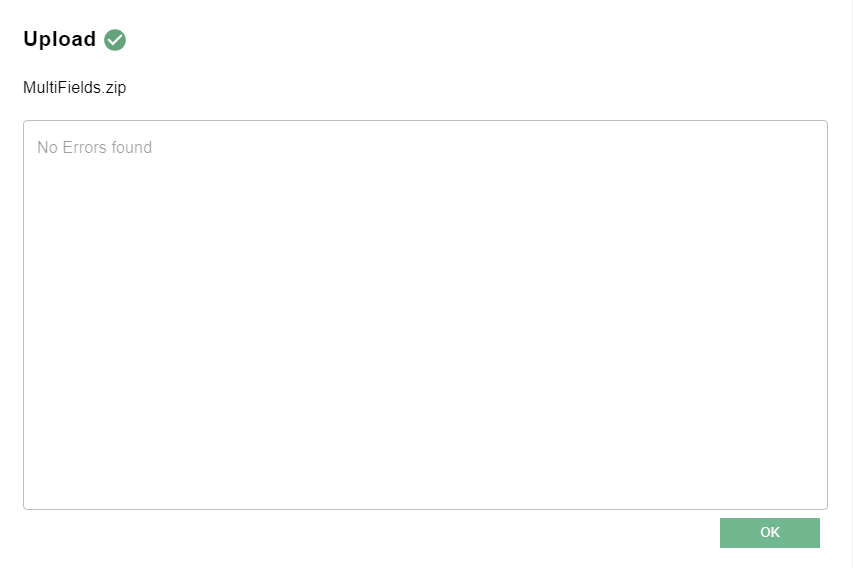
In case you receive an error here, relate to the TroubleShooting section to possibly fix your ISOXML.
Organize Files
The uploaded files are grouped by their type. The file lists per type are foldable
Each file offers multiple options:

-
Use the pen symbol to rename the file.
-
Using the dropdown, you can change the type of file. (A use case would be to check your softwares behavior if you send data with a wrong data type).
-
The bin symbol deletes the file.
-
The cloud symbol downloads it.
Validation of ISOXML
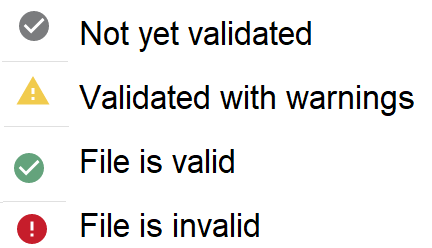
Each ISOXML File has a check mark symbol indicating validity of the File.
-
In case a file is received via agrirouter, validation is not automatically done. It can be triggerd by click on the check mark
-
Validated with warnings means that this file is - in general - an ISOXML file but it has some errors
-
File is invalid means that this is no ISOXML File whatsoever.
View of Telemetry and GPS
You can also view EFDI and GPS:Info data using the map symbol, that is displayed under the column Actions for this type of files.

More info on this can be found in the MapView.
Sending Files
You can choose to publish or to send the files to one or multiple endpoints. Publishing means you send them out and anyone who is interested ("subscribed") will receive a copy. The following graphic summarizes the concepts:
More information about the concept of publishing and subscribing can be found in the section Concept of Message Exchange.
When sending files directly, you can select any file from your Data Storage. To send files from the Data Storage view you need to select them with the tick, scroll to the bottom and use the buttons Send to endpoint or Publish:

Afterwards, you have to select one or multiple endpoints and click Send.
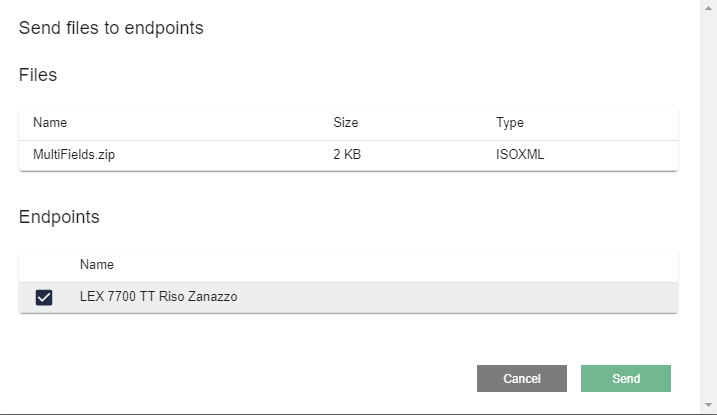
You will receive the following pop-up message in the top right corner when your message has been successfully sent. (You can also check this in the logs).

See the Troubleshooting section for some common error scenarios when uploading, sending or receiving files.
Alternatively, you can send files from the Endpoints section.
Receiving Files
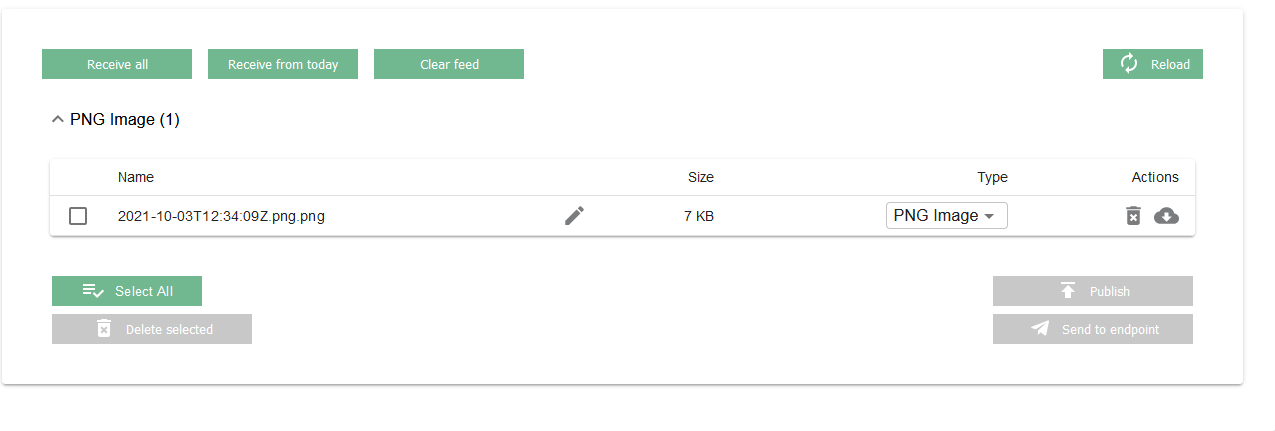
The IO-Tool receives all files that are directly addressed to it or for which it is subscribed (see Subscriptions) in its agrirouter feed. If push notifications are active, files are automatically delivered to the IO-Tool. Otherwise, or in case of problems with agrirouter during sending, the messages will be requested from the feed via the Receive All or Receive from today buttons.
Whenever a file is received, a message is displayed in the logs.
Clearing the Feed
The Clear feed button is used to clear the Feed within agrirouter, it has no influence on the data storage in the IO Tool. This is particularly useful if you have sent a broken dataset to the IO-Tool (imagine a farming software developer sending a Zip file in a broken format so that the IO-Tool cannot load it. To avoid future errors, it’s better to delete the feed). Note that this button deletes all messages from the feed in agrirouter for that specific endpoint and there’s no additional popup to warn the user.
